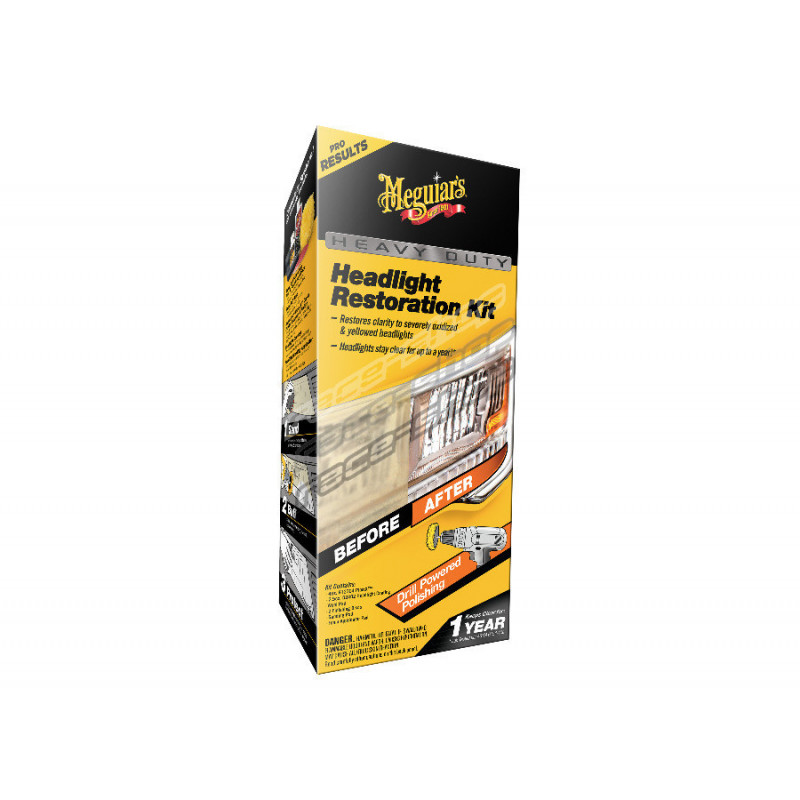
Complete restoration kit from Meguiar for heavily oxidized, yellowed, and scratched headlights. You no longer have to worry about severe oxidation and dimming lights. With this kit, you can easily and effectively restore any clear plastic surface. Everything you need for restoration is already included in this kit! You can work either by hand or machine using a drill that holds the unique Meguiar polishing attachment included in the kit!
{ "text": "
Severely corroded, yellowed, and scratched headlights reduce safety when driving in poor lighting conditions. However, restoring such headlights no longer means an expensive visit to a professional - you can now do it yourself!
The Meguiar's Heavy Duty Headlight Restoration Kit contains everything you need for headlight restoration. Everything you need for sanding, polishing, and protecting headlights - easily, gently, yet effectively.
The kit includes:
G12304 Meguiar's PlastX, 118 ml
- Polish for polishing clear plastic, polycarbonate, and plexiglass surfaces
- Quickly and easily restores excellent appearance and shine
- Removes light scratches, oxidation, stains, and provides a high gloss finish
- Ideal for use by hand and machine, even after sanding the lights with sanding pads or discs
G2402 Meguiar's Headlight Coating, 74 ml
- Special coating (extra durable protection) for headlights and clear plastics
- Easy application and long-lasting protection
- Delays re-oxidation, cloudiness, and yellowing for up to 1 year!
Polishing drill attachment
- Wool attachment for attaching to a drill
- In combination with PlastX polish to restore clarity to all clear plastic surfaces
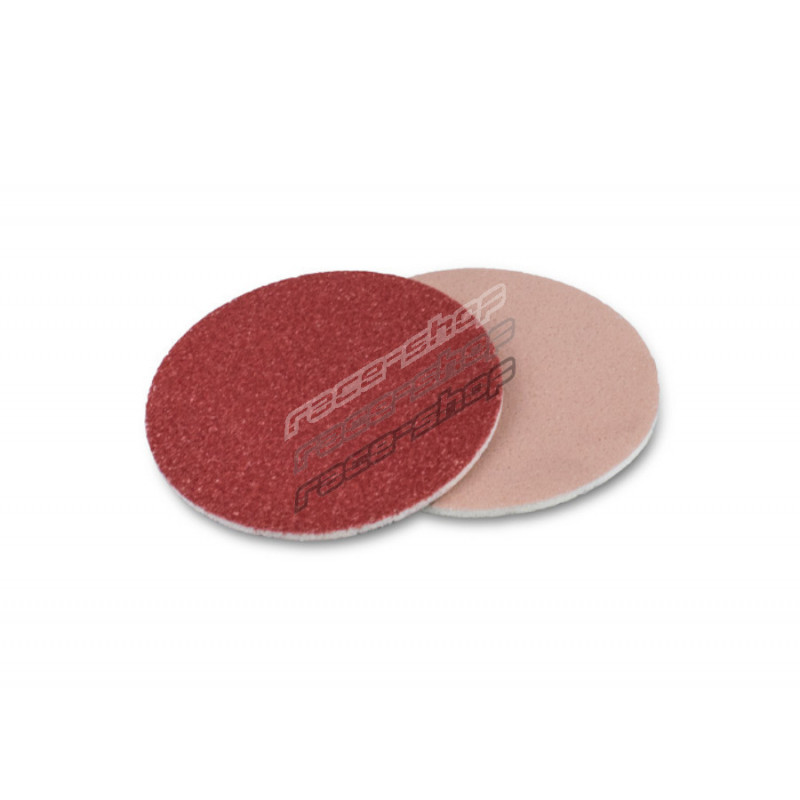
Sanding discs, 2 pcs
- Grain sizes 1000 and 3000 for gentle removal of severe defects in clear plastics
- For application using the included abrasive applicator
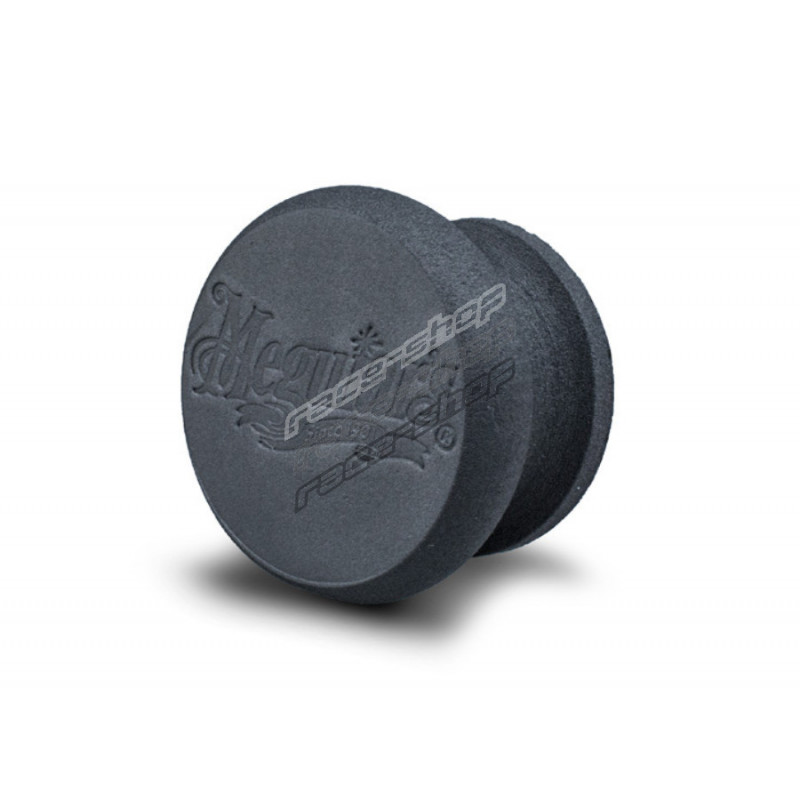
Hand sanding applicator
- Foam, ergonomically shaped applicator for comfortable and effective hand sanding
- Hook and loop system with a diameter of 75 mm allows the attachment of sanding discs
- Soft design perfectly contours to the shape of the headlights and allows even sanding of the damaged surface
Applicator for applying Headlight Coating
- Foam applicator for easy application of the protective coating
- Thanks to the pulp structure, the coating spreads evenly over the headlight surface
How to choose the right headlight restoration kit?
- G2960 Meguiar's Basic Headlight Restoration Kit
- Step 1 - hand sanding
- Step 2 - hand polishing
- Designed to remove: LIGHT DEFECTS - light oxidation, yellowing, light cloudiness, light scratches
- Application: by hand (no need for using machines)
- Benefits: low cost, quick, hand application - basic kit for headlight restoration
- G2970 Meguiar's Two Step Headlight Restoration Kit
- Step 1 - chemical cleaning and surface prep
- Step 2 - Long-lasting UV protection (spray)
- Designed to remove: MEDIUM DEFECTS - light to medium oxidation, yellowing, light to medium scratches
- Application: by hand (step 1 can be applied using the Meguiar's DA Power System)
- Benefits: very easy and quick hand application, extreme protection, also suitable for professional use - the most versatile headlight restoration kit
- G2980 Meguiar's Headlight Restoration Kit
- Step 1 - hand sanding
- Step 2 - machine polishing
- Step 3 - long-term UV protection (liquid coating)
- Designed to remove: STRONG DEFECTS - severe oxidation, yellowing and cloudiness as well as deep scratches
- Application: by hand (sanding and protection), machine (polishing)
- Benefits: kit for the most damaged headlights, also suitable for professional use
Headlight restoration process:
- BASIC INSTRUCTIONS:
- Always work in the shade and on a surface that is cool to touch. Never work in direct sunlight! Shake all liquid products well before use! Use only quality accessories (foam applicators, microfiber cloths) for application and wiping of products. Follow the instructions for use. If you have any questions, please contact your dealer.
- Warning:
- Not intended for use on LCD displays, navigation devices, plastic and mica windows in convertible tops and motorcycle windshields.
- Procedure:
- Clean the lights with glass cleaner and a clean microfiber cloth. Seal surrounding body parts with masking tape.
- Attach the sanding discs with grain size 1000 to the included hand sanding applicator. Moisten its working surface and keep it constantly wet during the work, either by soaking it in a cup of water or by spraying it with water from a spray bottle (not included). Sand the headlight surface with smooth, light horizontal strokes. To ensure adequate lubrication, frequently moisten the headlight surface and sanding disc. Sand gently until the light has an even matte appearance. Then wipe the headlight surface dry with a microfiber cloth.
- Replace the sanding disc with the one that has grain size 3000. Moisten its working surface and keep it constantly wet during the work, either by soaking it in a cup of water or by spraying it with water from a spray bottle (not included). Sand the headlight surface with smooth, light vertical strokes. To ensure adequate lubrication, frequently moisten the headlight surface and sanding disc. Sand gently until the light has an even matte appearance. Then wipe the headlight surface dry with a microfiber cloth.
- Attach the yellow polishing attachment to the drill. We recommend using an electric drill with a speed range of 1200 - 2500 rpm.
- Apply a drop of PlastX polishing compound the size of a quarter onto the polishing attachment, place the attachment with its entire working surface against the headlight surface, and turn on the drill. Be careful of the impact that the drill can cause to the spinning attachment. Work with slow horizontal strokes on a smaller section of the headlight. Do not apply high pressure or tilt the attachment - make sure it works across the entire area. The PlastX product can be applied at any drill speed. Higher speeds provide stronger correction and polishing, but it may be harder to keep the attachment level. Therefore, we recommend adjusting the speed as needed.
- Immediately wipe away all residues with a microfiber cloth so they do not dry on the surface. Repeat the process as necessary. Finally, polish the headlight surface with PlastX polish applied using a microfiber cloth to achieve the final shine.
- Clean the lights from polishing residue with glass cleaner and wipe them dry with a microfiber cloth.
- Make sure the headlight surface is clean and dry. Apply the protective coating with the supplied gray applicator. Apply the coating with vertical, overlapping strokes over the entire headlight surface, then apply horizontally to cover the whole surface of the headlight. Repeat the process on the second headlight as well. The coating is touch dry in about 15 minutes, and full curing occurs after 24 hours. We recommend keeping the headlight surface clean and dry until the coating has fully cured (24 hours after application).
", "confidence": 95, "zameny": {}, "possible_issues": 0}